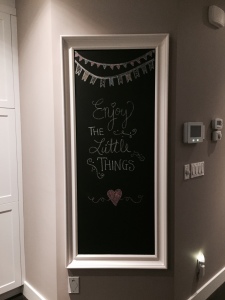
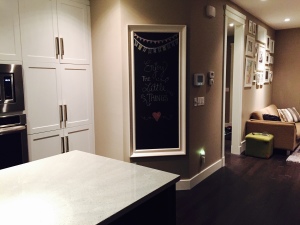
It’s almost been a year since Andrew and I moved into our beautiful home and we have recently been adding some final touches to make it exactly what we want! After spending lots of time on Pinterest and home decor blogs, we decided that we wanted to create a chalkboard wall on one of the kitchen walls to give the room a little character. Andrew researched several ways to design the wall and in the end, found a really cool idea involving a full length mirror, magnetic paint, and chalkboard paint. The whole process was super easy! We had a white full length mirror in our bedroom from Ikea that we decided to use (and later bought a really beautiful rose gold ornate mirror from Homesense to replace ours – win win)! We used painter’s tape to protect the trim and when ready, primed the mirror with 3 coats of magnetic paint. Once the paint was dry, we then layered on two coats of the chalkboard paint. Of course we allowed the recommended amount of drying time in between each coat of magnetic and chalkboard paint. After the paint had completely dried, Andrew hung the mirror – now chalkboard wall on the kitchen wall and we couldn’t be happier with the results! It’s such a cool and easy way to add something unique and creative in your home without spending a ton of money. I have definitely been having so much fun putting my ‘artistic talent’ to use! I’d love to hear about any fun DIY projects you have completed around your homes. Comment below if you’d like to share!
Tag: DIY
DIY Bench and Cushion
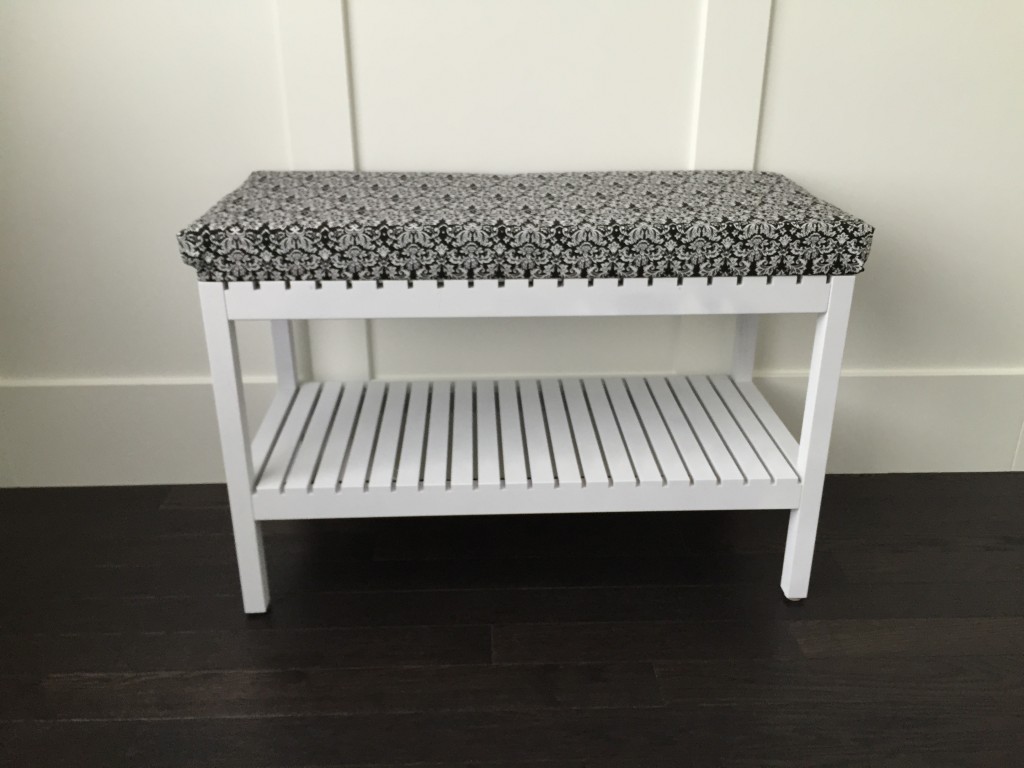
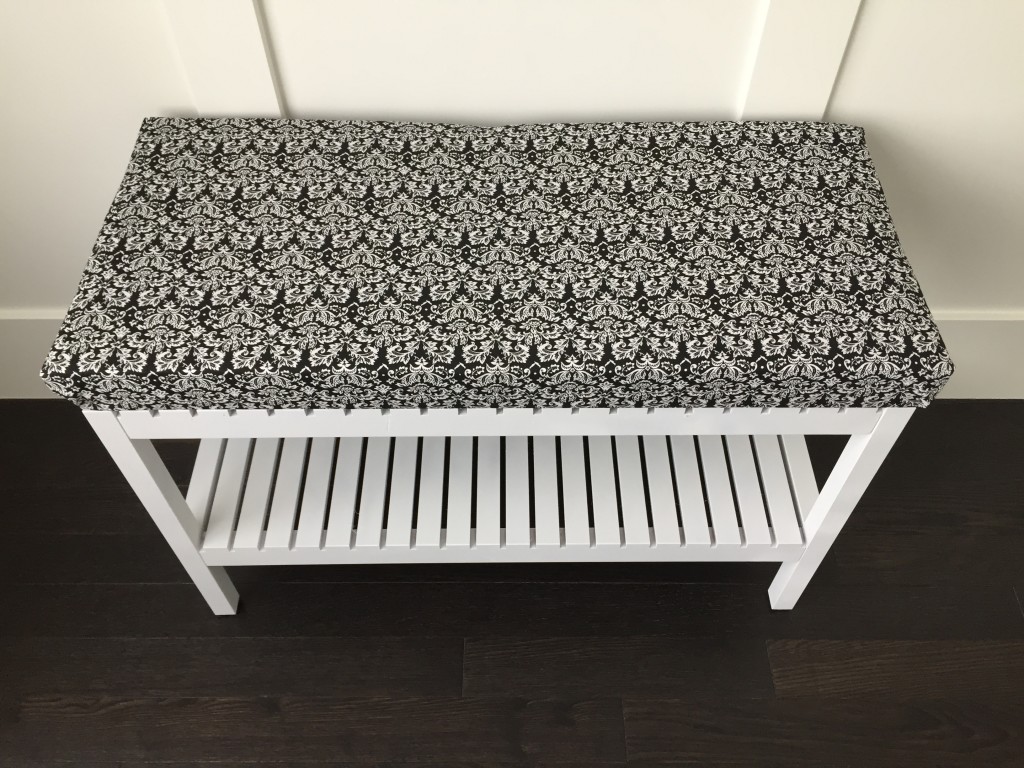
Hi everybody! Sorry for my lack of posts lately. Nico is teething (even though there are no teeth yet) so the past week and a half has been a little tough, leaving me with no time to add to my blog. Anyways, I’m back now and wanted to show you a little DIY project that I finished a few days ago. I’m not a super crafty person, however I’ve been getting more and more into do-it-yourself projects, and I am so proud and impressed with how my DIY bench and cushion turned out! Andrew and I had this old little brown bench that we bought from Ikea quite a few years ago, and were planning to give away of it because it didn’t match with any of our home decor. We eventually changed our minds and decided to freshen it up with some white spray paint and a custom cushion. Andrew did all of the spray painting (and did an amazing job at that) and I was in charge of making the cushion to sit on top of the bench. I couldn’t believe how easy it was and loved the final result! All I needed to make the cushion was a piece of plywood measured and cut to fit the bench from Home Depot, the fabric of my choice and foam from Fabricland (I was surprised at how expensive the foam was), and a staple gun. I followed this tutorial and I was literally finished within 5 minutes! The last thing that we did was added screws from underneath the bench into the plywood to make sure that the cushion would stay in place. This project was so easy and the bench looks so beautiful! It definitely makes me so excited to get crafty and try new DIY ideas!
